- 7 minute read
- Blog
- Named Entity Recognition

Named Entity Recognition is a crucial technology for NLP. Whatever you’re doing with text, you usually want to handle names, numbers, dates and other entities differently from regular words. To help you make use of NER, we’ve released displaCy-ent.js. This post explains how the library works, and how to use it.
Update (Feburary 2018)
As of spaCy v2.0, the displaCy ENT visualizer is integrated into the core library. It supports serving the visualizations in the browser, generating the raw markup or outputting the results in a Jupyter notebook. For more details, see the visualizers documentation.
displaCy ENT is a lightweight and extensible library that fetches JSON-formatted named entity annotations and transforms them into semantic HTML. This way, the original text stays intact and we can rely on web standards and avoid extra dependencies. The Brat visualizer for example is great and comes with a lot of options, but it also requires a 500+ line stylesheet, three fonts and a total of 11 JavaScript dependencies, including jQuery with two plugins. This can be a bit heavy if you only want to show a simple, static visualization, or implement a custom workflow.
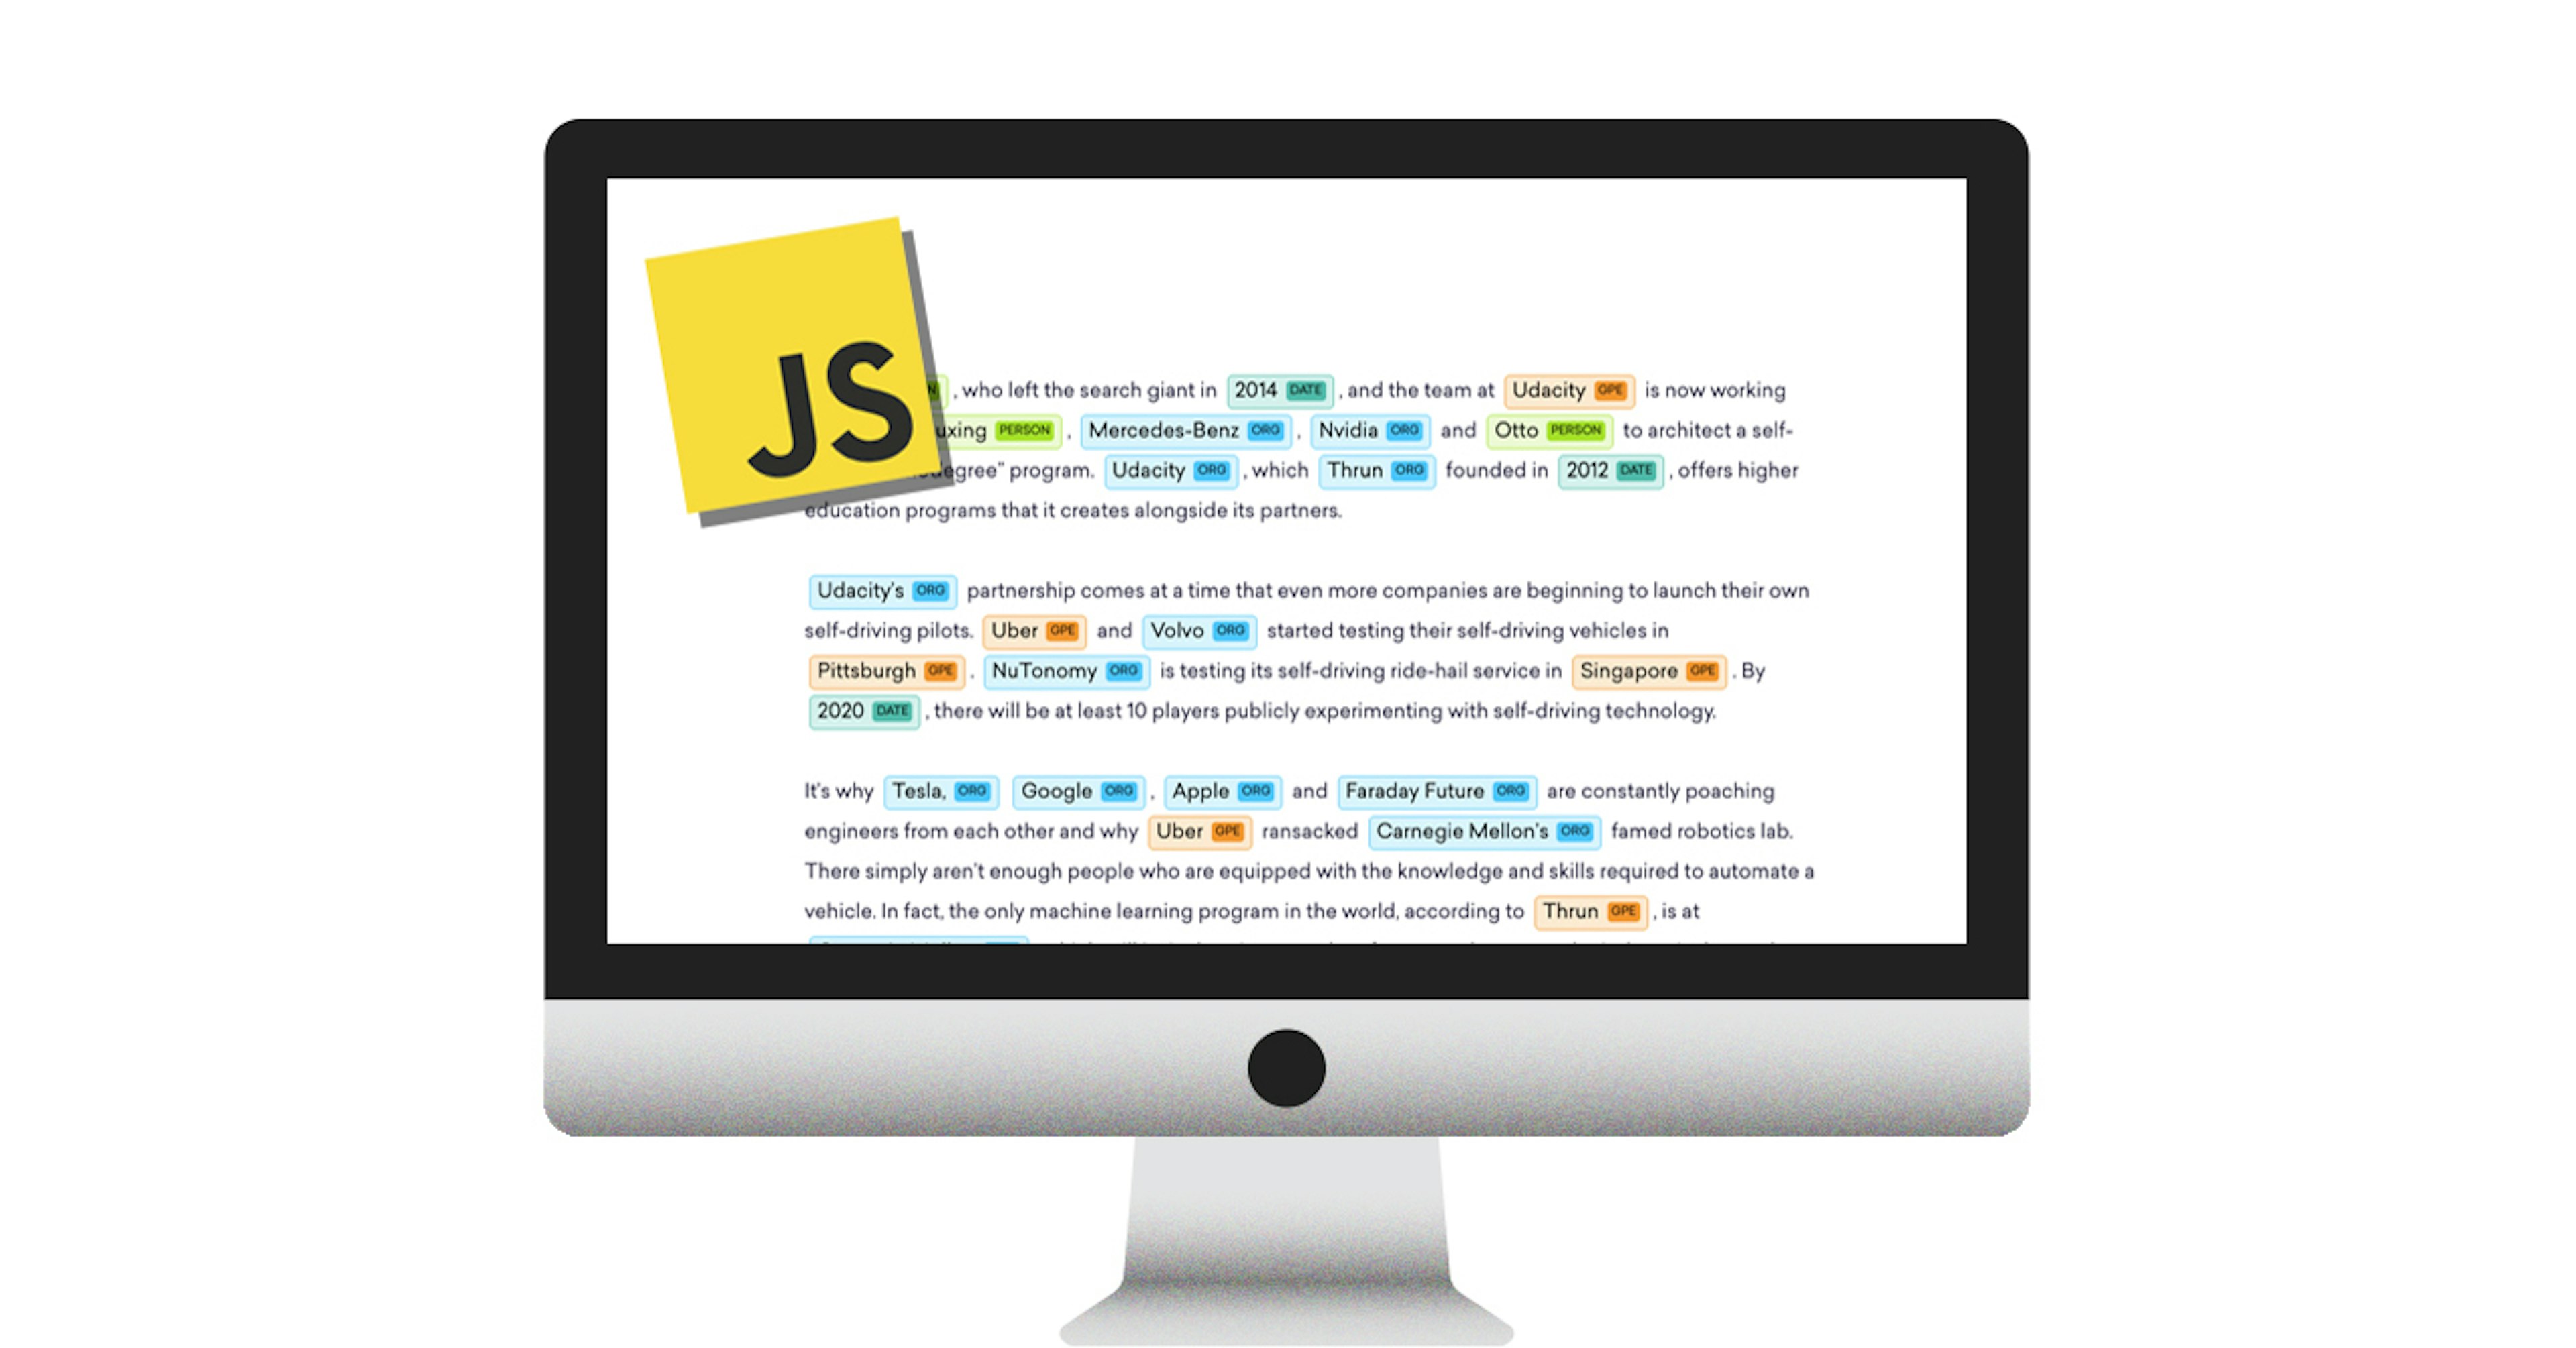
Here’s an example of a text rendered by displaCy ENT:
The labels are displayed and styled using only CSS selectors — and you can do some pretty powerful stuff with that. You’ll see a few examples later on.
Using displacy-ent.js in your projects
To use displaCy ENT, include displacy-ent.js and initialize a new
instance specifying the API and settings. The parse(text, model, ents) method
renders a parse generated by
spaCy’s services, which you can
download and run for free.
// Your APIconst api = 'http://localhost:8000'
// Init displaCY ENTconst displacy = new displaCyENT(api, {  container: '#displacy',})
const text =  'When Sebastian Thrun started working on self-driving cars at Google in 2007, few people outside of the company took him seriously.'const model = 'en'
// Entities to visualizeconst ents = ['person', 'org', 'date']
// Parse textdisplacy.parse(text, model, ents)
For a full list of available settings, see the
Readme.
Alternatively, you can also use render(text, spans, ents) to manually render a
JSON-formatted set of entity spans returned from our
REST service.
Example: Using the static visualization on your site
If you’re only looking to visualize the entities of a given text, there’s no need to include any JavaScript at all. Simply head over to our demo and copy-paste the HTML and CSS. CodePen is a great tool to test this and see it in action immediately. displaCy ENT also logs the full HTML markup to the console.
Example: Dynamically generate a visualization
Let’s say you want to add entity visualization to a bunch of text on your site. You can do this by replacing the content of your container with the visualized output of displaCy ENT once the document has loaded:
### Usage exampleconst displacy = new displaCyENT('http://localhost:8000', {    container: '#displacy',    defaultModel: 'en',    defaultEnts: ['person', 'org', 'date']});
// Replace text in container with visualization once document has loadeddocument.addEventListener('DOMContentLoaded', (ev) => {    const text = document.querySelector('#displacy').textContent;    displacy.parse(text);});
Note that this only grabs the textContent and ignores line breaks, paragraphs
and other HTML tags. As a workaround, you could replace line beaks and pargraphs
with newlines in the container’s innerHTML and then grab its textContent:
### Hacky workaround", "javascriptconst container = document.querySelector('#displacy');container.innerHTML = container.innerHTML                        .replace(/<br\s*[\/]?>/gi, '\n')                        .replace(/<p[^>]*>/g, '')                        .replace(/<\/p>/g, '\n\n');
displacy.parse(container.textContent);In general, I’d recommend to only use displaCy ENT on plain, unformatted text. If you’re working with user input or other unpredictable content, opt for a library to sanitise HTML and prevent Cross-Site-Scripting (XSS).
How displaCy ENT works
displaCy ENT wraps the entities in the HTML5 <mark> element for
highlighted text. Each entity is
assigned the data attribute data-entity:
<div class="entities"> When <mark data-entity="person">Sebastian Thrun</mark> started working on self-driving cars at <mark data-entity="org">Google</mark> in <mark data-entity="date">2007</mark>, few people outside of the company took him seriously.</div>This is done using a simple JavaScript function. It takes the list of spans
returned by the server, slices the original text into fragments and, if an
entity should be visualized, wraps it in a <mark> tag and adds the right data
attribute. The data attributes are then displayed after the entity in CSS using
the :after pseudo-element:
Example CSS
With CSS, you have almost infinite possibilities to present the entities. Here are a few examples with different colours, borders and hover effects:
There’s another cool thing you can do with advanced selectors: You can make it only show the entity label for the first instance, or rather, hide all other ones and only show them on hover:
The trick here is the element ~ element selector that selects all elements
following another element. Basically, we’re adding the label to all entities
and then hiding it for all entities with data-entity="person" following
another one, i.e. all except for the first.
CSS Markup (Excerpt)", "css
This needs to be done for all occuring entity types. In my example, I used a simple Sass loop to automate this:
Sass loop (Excerpt)
What’s next?
In the future, we’re planning to add support for more annotation formats like Google’s NLP API and CoreNLP. I’d also love to release more CSS themes for different entity styles. If you’d like to contribute one, check out the current Sass template here and feel free to submit a pull request.
Update (Feburary 2018)
As of spaCy v2.0, the displaCy ENT visualizer is integrated into the core library. It supports serving the visualizations in the browser, generating the raw markup or outputting the results in a Jupyter notebook. For more details, see the visualizers documentation.


