
Human-in-the-loop distillation with Large Language Models (LLMs) provides a scalable way to leverage use-case-specific data to build custom information extraction systems. But compared to an entirely prompt-based workflow, there’s still a major bottleneck: you actually need to create high-quality data and you need to train, ideally on GPU. So how can we make this easier?
There’s no push-button one-size-fits-all solution to data creation. It’s a development activity, so what you need are interactive tools. Our annotation tool Prodigy gives you a great suite of interfaces and utilities for this, and it brings the functionality to your local development environment. However, you don’t always want to run everything locally. This is where Modal comes in.
Modal is a serverless cloud platform that provides high-performance and on-demand computing for AI models, large batch jobs and anything else you want to run in the cloud, without having to worry about infrastructure. It’s fully scriptable in Python and comes with a first-class developer API and CLI, so you can easily deploy any code you’re working on.
In this blog post, we’ll show you how you can go from an idea and little data to a fully custom information extraction model using Prodigy and Modal, no infrastructure or GPU setup required. We’ll use a Large Language Model (LLM) to automatically create annotations for us, correct mistakes to improve the predictions, and use transfer learning to fine-tune our own task-specific component.
Getting started
After installing Prodigy, the plugin and the Modal client, you can run python -m modal setup to authenticate. To persist any data we create and access it both locally and in the cloud, we also need to set up a database. Modal itself doesn’t provide database services, but Neon is just as convenient to set up and gives you an instantly provisioned serverless PostgreSQL instance. If you already have a remote database set up elsewhere, you can of course also use that instead.
In your prodigy.json, you can then configure Prodigy to use it everywhere. If you don’t yet have a Postgres driver installed locally, you can do so by running pip install psycopg2-binary.
prodigy.json
Example use case
For the examples in this post, we’ll be using a dataset of GitHub issues scraped from the GitHub API to build a classifier to predict whether the issue is about DOCUMENTATION or a BUG. However, if you’re following along and want to try it out for yourself, feel free to adapt it to use your own labels and data.
gh_issues_raw.jsonl (excerpt)
Creating the dataset
Prodigy’s design is centered around “recipes”, Python functions that orchestrate the annotation and data workflows. This scriptability enables powerful automation: with better and better general-purpose models available, we don’t need humans to perform boring click work. We also don’t necessarily need “big data” – a small, high-quality dataset and BERT-sized embeddings can achieve great performance at low operational overhead.
Instead of using a big general-purpose LLM at runtime for a specific, self-contained task, you can move the dependency to the development process and use it to create data for a smaller, faster and more accurate model you can run in-house. The more you can let the model do for you, the better. As shown in our recent case study with S&P Global, their team was able to achieve F-scores of up to 99% at 16k words per second with only 15 person hours of data development work including training and evaluation. At PyData NYC, we only needed 8 person hours to beat the few-shot GPT baseline. And with better models and smarter workflows, we’ll likely see these numbers go even lower in the future.
To set up the automated labelling, we can create a .env file for the required keys (in this case, Prodigy and OpenAI) and an llm.cfg config file for the LLM and information extraction task. Here we can provide both the label names, as well as optional label definitions to give the prompt more context.
.env
assets/llm.cfg (excerpt)
Auto-generating the annotations
Prodigy’s textcat.llm.fetch recipe now pre-annotates the raw input data and saves the structured results to the dataset gh_issues_docs. Datasets can be loaded back in for review and corrections, and also used out-of-the-box to train, fine-tune and evaluate models.
Pre-compute annotations from an LLM locally
This is a perfect use case for Modal, since it’s a long-running process that’s less inconvenient to have on your local machine, but it doesn’t require expensive compute resources. With modal.run, you can outsource it to the cloud!
Pre-compute annotations from an LLM in the cloud
The --assets argument lets you provide a directory of files required for the workflow, e.g. the raw input data, models or code for custom recipes, and in this case, the LLM config file. Setting --detach ensures that the process keeps running, even if you close your local terminal. The annotations created by the model are saved to the dataset gh_issues_docs and stored in the remote PostgreSQL database, which you can also access locally.

By running db-out, we can inspect the created structured data. Each example contains the available options, as well as the accepted labels.
Pre-annotated example (excerpt)
Improving data and model quality
We’ve now used a model to automatically create data for us and depending on the LLM, use case and labels, we may get decent-quality data out-of-the box. But chances are the model has made mistakes, which we don’t want to replicate in our custom distilled component. We all know that we should spend more time with our data, and Prodigy actually makes this achievable by giving you efficient workflows to try out ideas before you scale up the process.
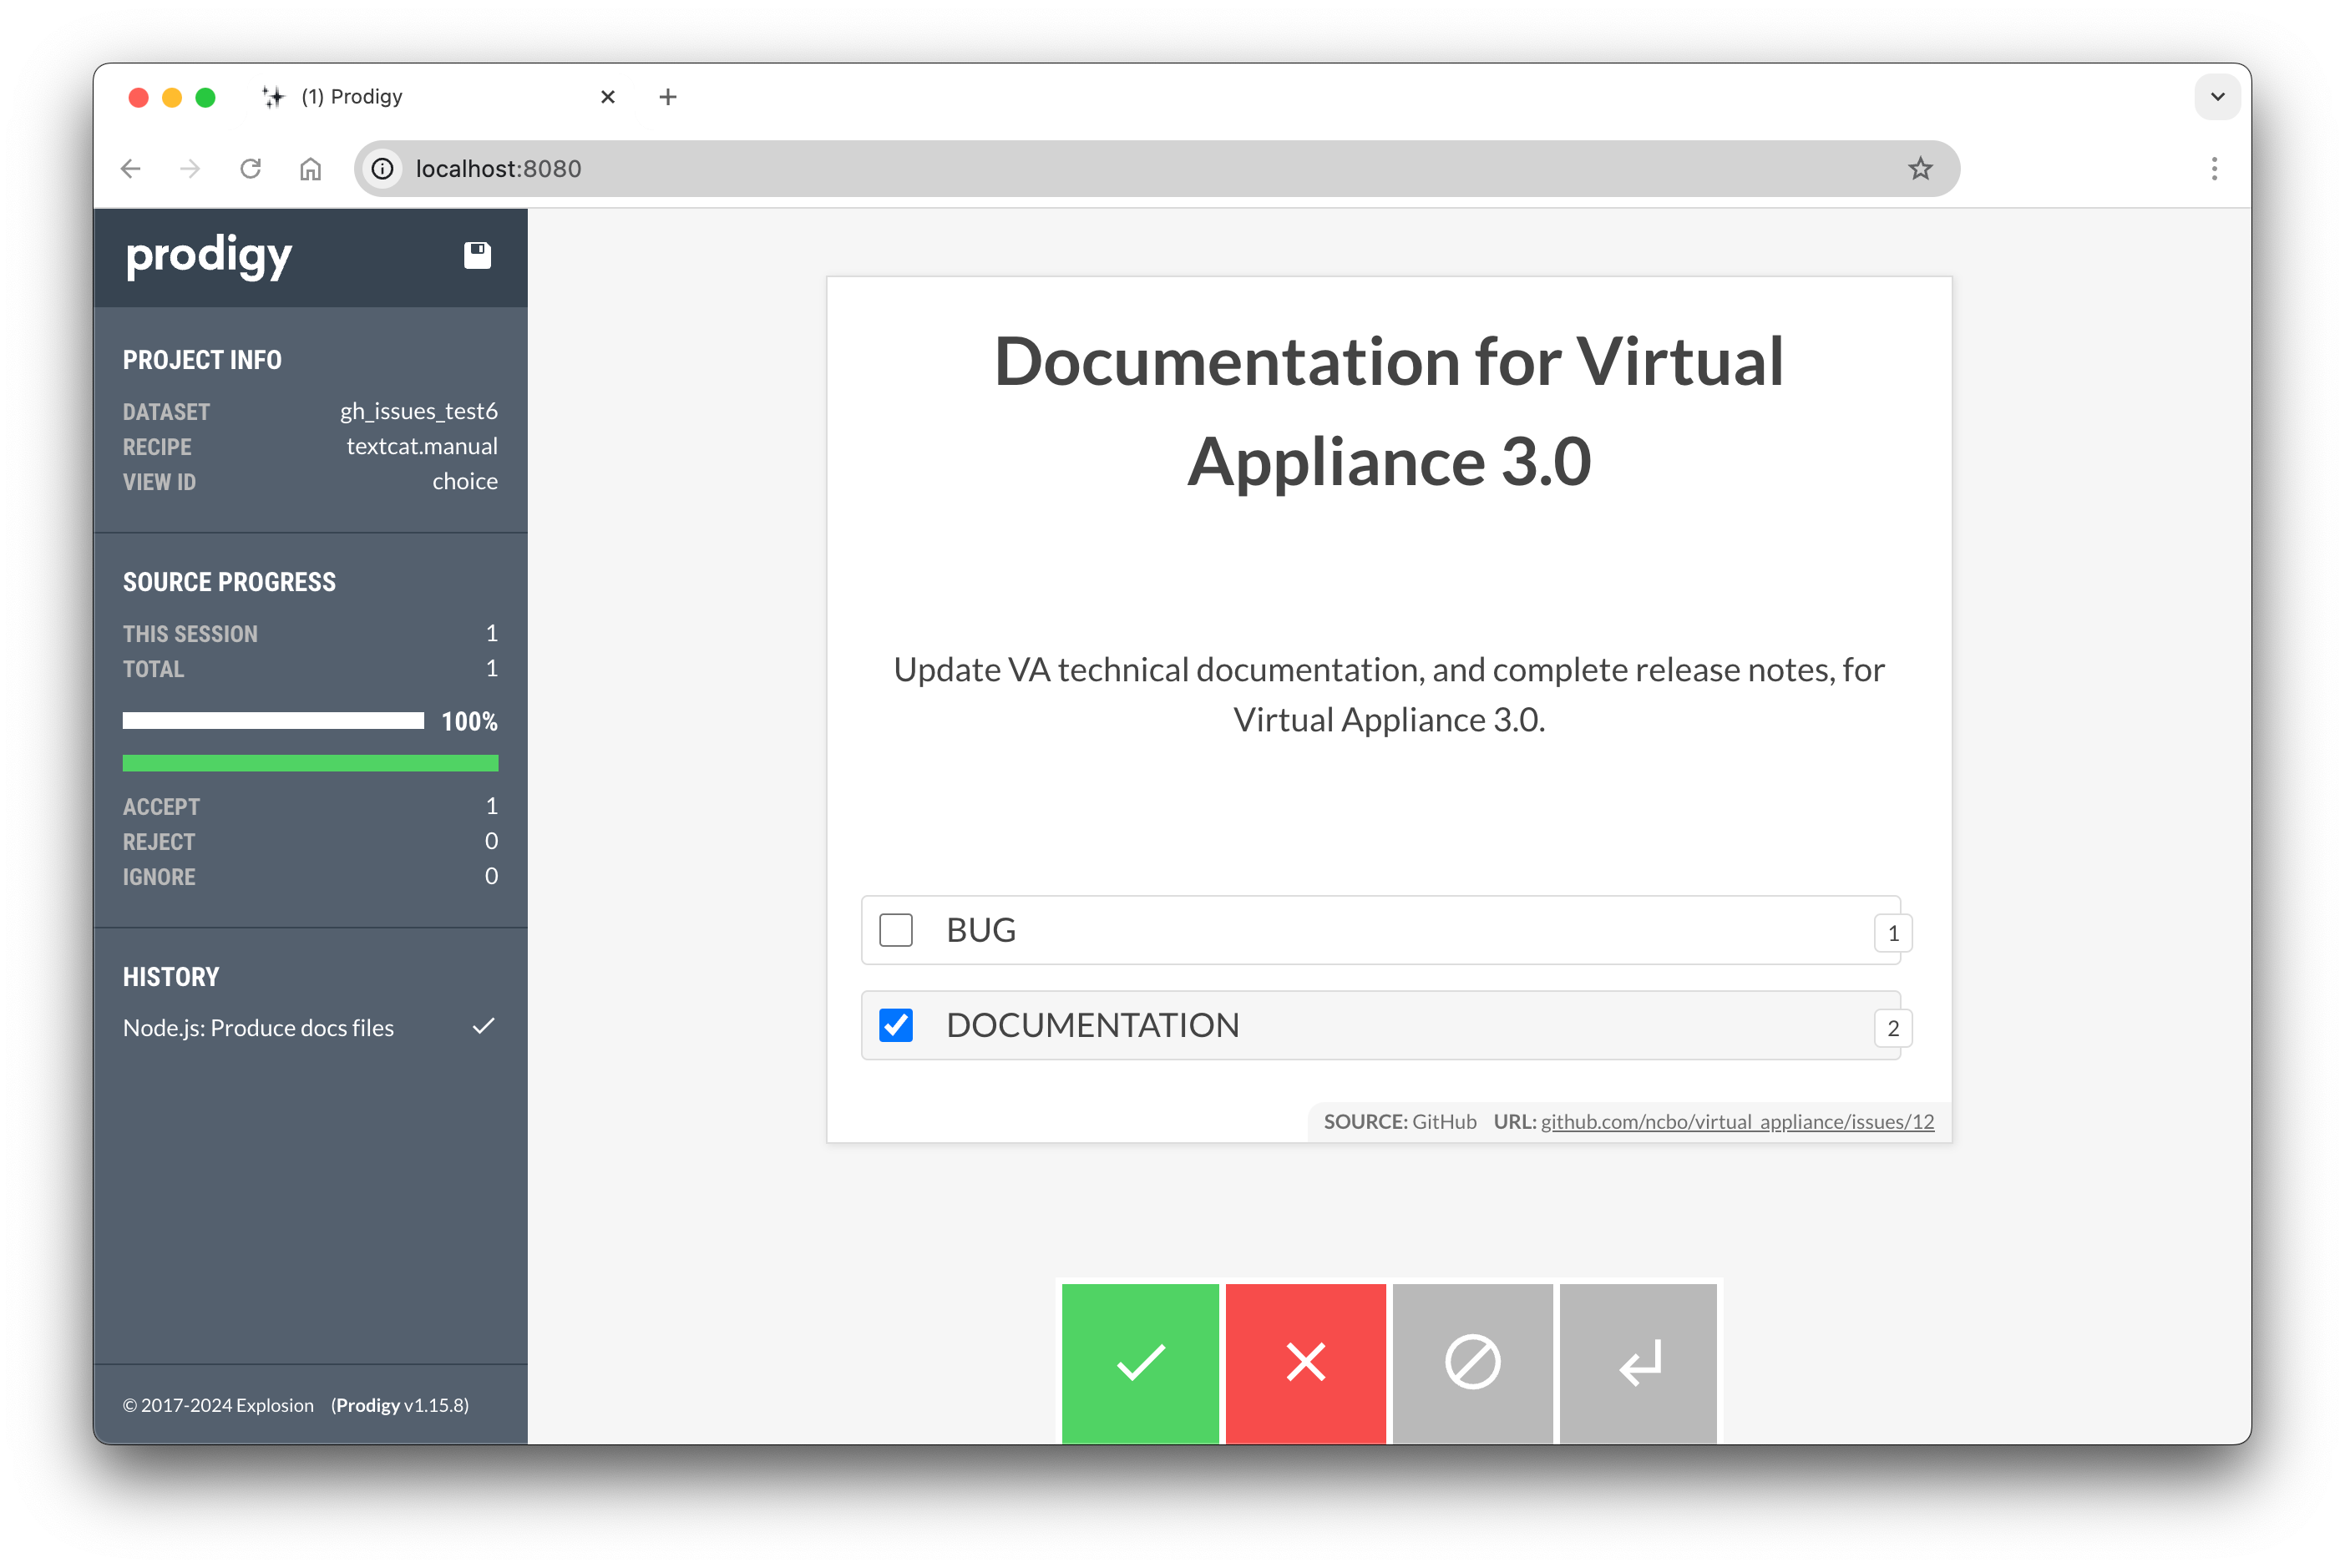
Since we have local access to the database, we can load the labelled data back in with Prodigy and view it in the browser. The textcat.manual recipe lets you stream in the data with the model’s predictions pre-selected.
Correcting pre-computed annotations locally
You can now make corrections if needed by clicking the labels or using the keyboard shortcuts 1 and 2, and hit the accept button or A key to move to the next example. The examples are then saved to a new and improved dataset gh_issues_docs_reviewed.

Optional: Deploying the annotation server
Under the hood, Prodigy starts a web server, which you can run locally on your machine, serve on an internal network (great for privacy-sensitive use cases) or deploy to the cloud. Modal makes it easy to host the annotation app for others on your team with a single command, and you can optionally configure basic authentication or Single Sign-On (SSO) for different users if needed.
Deploy app to correct pre-computed annotations in the cloud
Training the component on GPU
For this example, we’ll use RoBERTa-base to initialize the model, which gives us a good basis for higher accuracy when fine-tuning the task-specific component on top of it. You can of course customize the transformer embeddings and hyperparameters via the spaCy training config. The train command will then train the component using the provided dataset.
Using modal.run, you can send this process off to the cloud with --require-gpu, optionally specifying the GPU type with --modal-gpu to automatically provision a GPU machine with the required dependencies for you. Setting --detach ensures that the process keeps running, even if you close your local terminal.
Fine-tune a model on the data
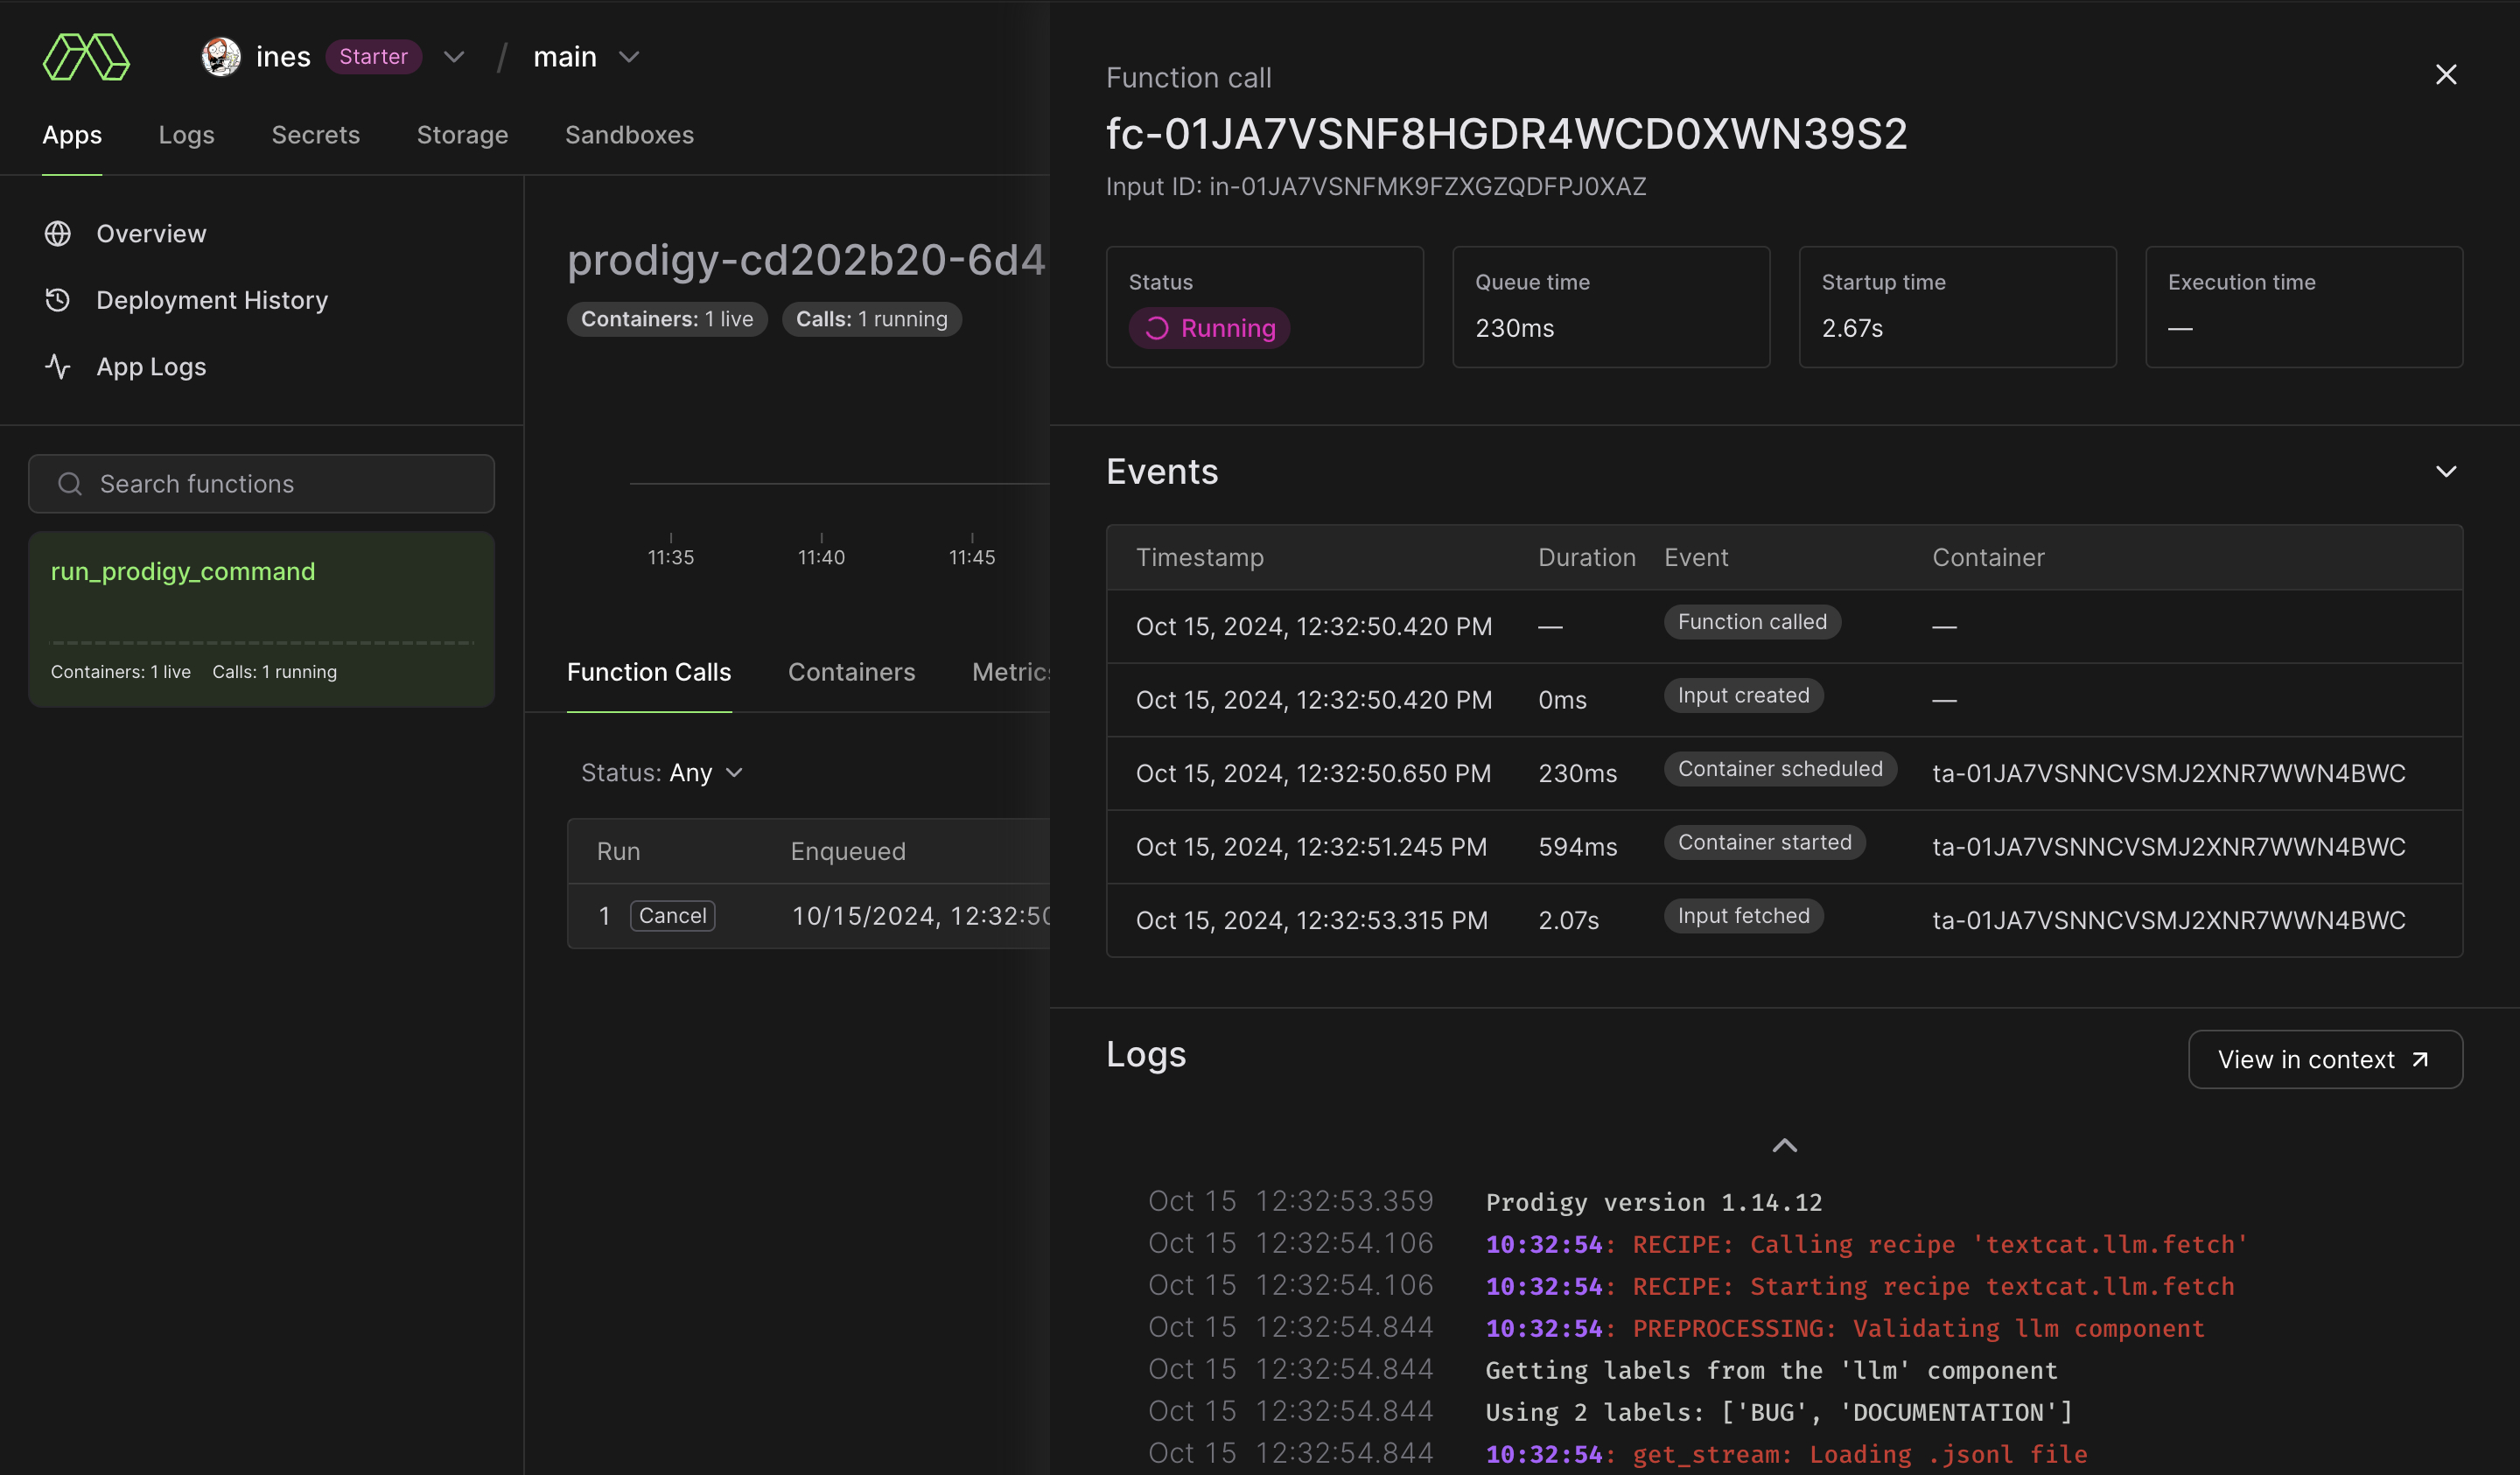
In the Modal dashboard, you can view all running apps and logs, including the training progress.
Logs (excerpt)
By default, a Modal volume named prodigy-vol is created at the remote path /vol/prodigy_data/ and any models you train are stored in a folder models. The Modal CLI lets you interact with your volumes and download any created files locally:
Download model from Modal volume
The result is a 513 MB task-specific model you can easily run and deploy yourself:
Use the model
Using LLMs to create data for task-specific models is currently a pretty underrated usage pattern that holds a lot of potential for building more resilient and transparent NLP applications, without requiring expensive cloud resources or labour-intensive annotation.
We’ll continue working on better developer tooling around these workflows, and with new models and more convenient infrastructure tools like Modal, we’ll likely see applied NLP becoming even more efficient in the future. If you end up trying out Prodigy and Modal for your use case, let us know how you go on the forum!
Resources
- Prodigy: A modern annotation tool for NLP and machine learning
- Modal: High-performance serverless cloud for developers
- Neon: Serverless PostgreSQL databases
- Prodigy Modal: Plugin installation, details, usage and examples
- A practical guide to human-in-the-loop distillation: How to distill LLMs into smaller, faster, private and more accurate components
- Large Language Models in Prodigy: Use LLMs to automate annotation and data creation for distilled task-specific models
- S&P Global case study: How S&P Global is making markets more transparent with NLP, spaCy and Prodigy
- PyData NYC workshop: Half hour of labeling power: Can we beat GPT?


